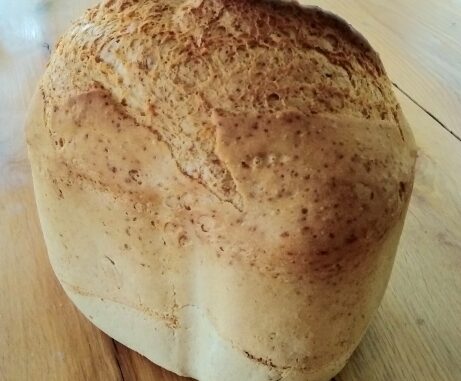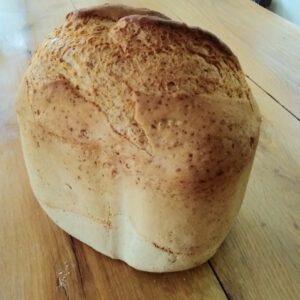
This recipe for a gluten free loaf is for cooking in a bread machine and then finished off in your oven as it won’t be cooked thoroughly on the gluten free bread cycle.
It’s well worth the effort though, as you won’t be able to buy any gluten free loaf as good or make one as good from the ready mixed packets you can buy in the supermarkets.
It’s beautifully soft, stays soft for a couple of days or so and tastes very much like the real thing.

I use either Buywholefoods online Tapioca flour or Whole Foods Earth organic tapioca flour. Don’t use cassava flour it’s not the same. You need it to be a light and airy flour. This is the most important ingredient in this bread
Perfect Soft and Crusty Gluten Free Loaf - new improved recipe
Ingredients
- 7 ozs Tapioca Flour Not cassava flour
- 2 ozs Potato Flour
- 2 ozs Rice flour
- 1 tbsp Psyllium Husks Not powder
- 1 tbsp Egg white powder
- 1 tbsp Soya flour
- 1 tspn Fructose
- 2 tspn Sugar
- 1 tbsp Fast acting yeast
- 1 tspn Xanthan Gum Very important or the loaf won't rise properly
- 1 whole Egg
- 60 mls Vegetable Oil I use sumflower or light olive oil
- 300 mls Water
Instructions
- Put all the wet ingredients into your bread machine tin, then add the dry ingredients on top.Cook on the gluten free program. If you don't have a gluten free program, then look for a loaf that only proves once and finishes in about 2 hoursMost bread machines cook gluten free for 1 hour after the initial mixing and rising, this won't be long enough for this recipe. When the cycle is finished, either take the tin out of the bread machine and put in your oven for another 30 mins at 200°C or, if you're lucky enough to have the ability to extend the cooking time on your bread machine, set it for another 25-30 mins.When cooked, take out of the oven and leave in the tin for 10 minutes.Tip the loaf out onto a rack and leave to cool thoroughly before cutting.I find it's best left until the following day, which for most gluten free loaves would mean cardboard bread but not with this recipe. It stays soft for at least 2 days
Important notes
- Measure the ingredients out very accurately. If the loaf doesn't rise enough, it will be a lack of water. If it comes out and has risen lots but with a hole in the middle, it will mean the mixture was too wet.It's important to follow the instructions for removing from tins and ovens etc. otherwise your loaf could collapse inside and end up looking like a cave.If you cut into a warm loaf, it could collapse and will also be sticky. It needs to be left for several hours for slicing perfectlyI've found, the loaf is better 24 hours later when it's had a chance to firm up slightly
