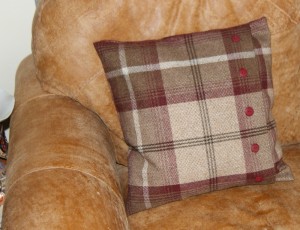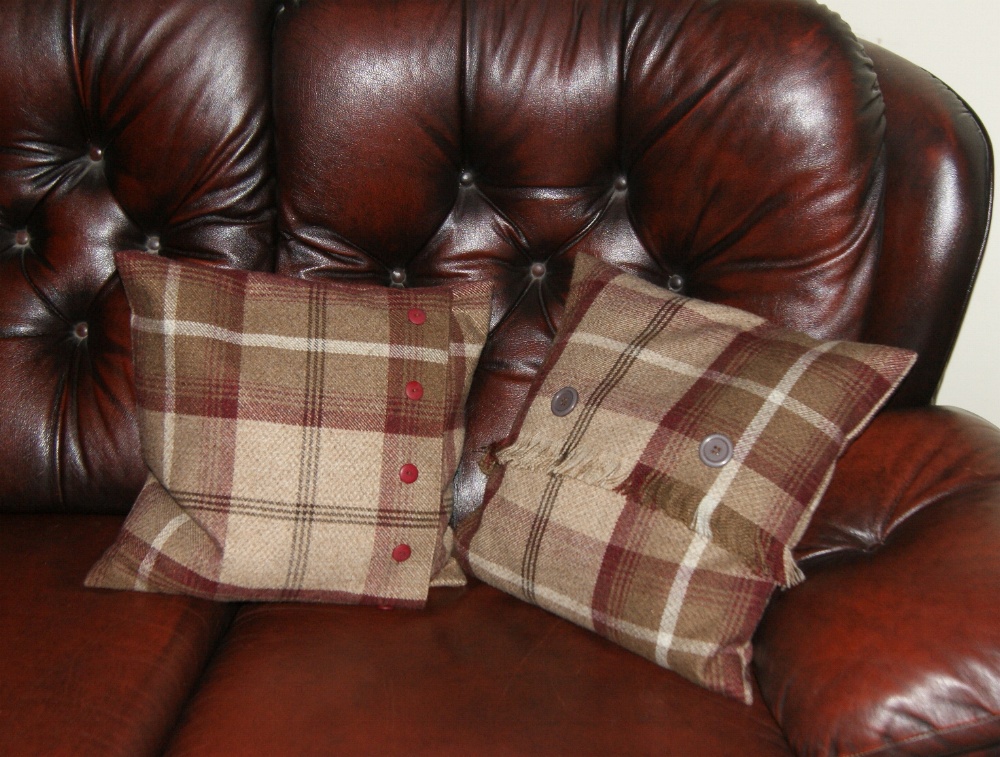
Sitting in a waiting room recently, I thumbed through a copy of Ideal Home magazine and saw a Tartan Cushion with a fringe and buttons. I thought, that looks really good. I could make that for a fraction of the cost, so I have.
I ordered a metre of Tartan material from Ebay in Balmoral Mulberry. There were loads of different styles and colours to choose from. It’s a wool effect and washable. A metre is enough to make 3 cushion covers approx 18″ square.
The instructions below might seem fiddly but it’s not. It took me no longer than half an hour to make for a fraction of the cost of buying one. Also, there’s no fiddly zips to put in as the cushion just slides into it like a pillow case opening.
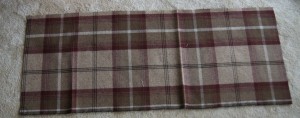 I cut the material into 3 strips measuring about 18″ x 45″ but if your cushion is a different size, then cut the material to the width of the cushion plus about ½ inch either side to allow for seams and the length should be about 2½ times the other dimension of the cushion.
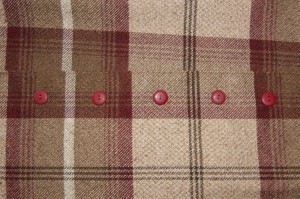
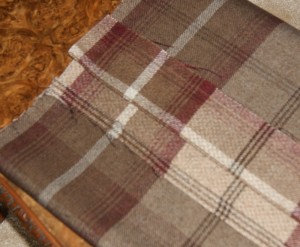 Next you need to hem either end. A small hem on one end and a larger one on the other of about 3 inches. On the 3 inch hem, I stitched very close to the edge, then stitched another row about 3 inches in, to make a band effect. This will be where you sew on the buttons.
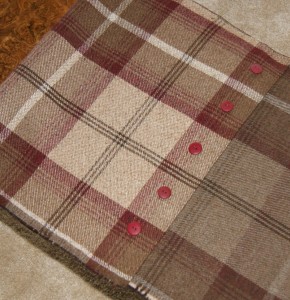 Next position your buttons and how many you would like to use on this band and sew them on.
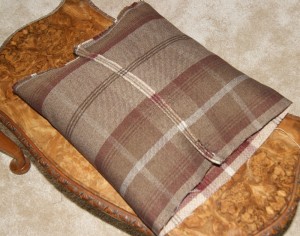
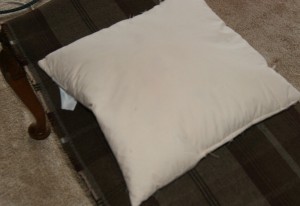 Take your cushion and wrap the material around it inside out, making sure you have the button band on the inside and at whatever position you’d like it to end up. I decided to have it close to the edge on this one but made my other cushion (bottom of the page)
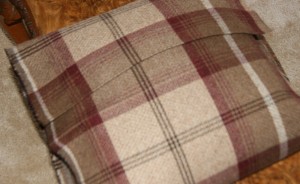
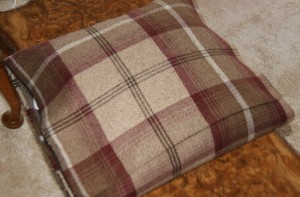
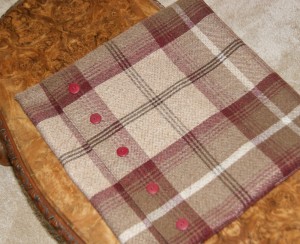 Gently slide out the cushion and stitch both side seams. The tartan pattern is really helpful for getting nice straight seams.
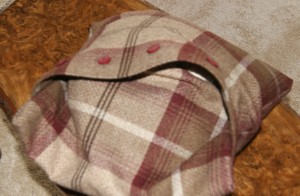
Take your new cushion cover and open up the button flap, inserting your cushion inside and under the inner flap like a pillow case.
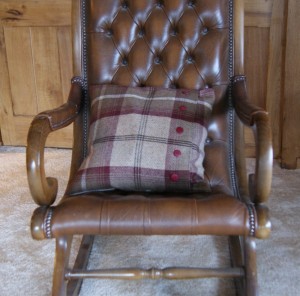
And there you have your lovely finished cushion cover for approximately £5.00 plus the cost of your cushion. I happened to have some old ones from long ago in my airing cupboard.
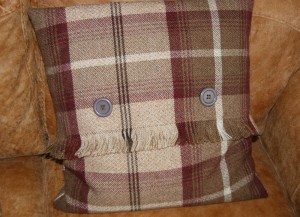
I decided to make another one with a fringed edge
I just unravelled one edge to about 1½ inches but you could make it longer and twist several strands together to make a thicker fringe. Lots on the internet have the fringe at the bottom edge. I thought I’d do something a bit different.
If you have any questions, just leave a comment or email me.
